
From Inspiration to Masterpiece: Turning Your Embroidery Idea into Reality
Unlock your creative potential and transform your embroidery idea into a stunning reality. Discover a step-by-step guide, from brainstorming to finishing touches, to bring your artistic vision to life with needle and thread.
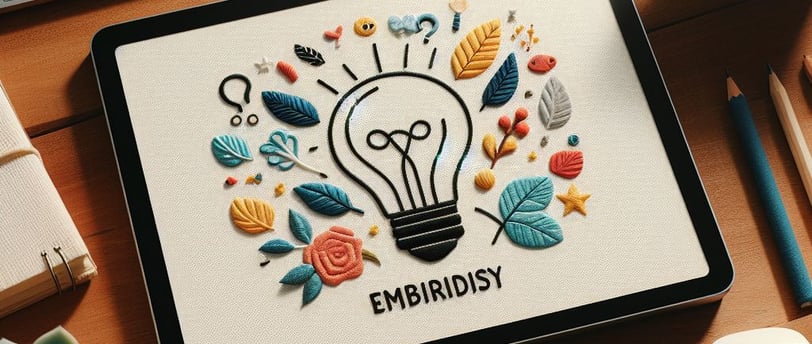
EMBROIDERY

Embroidery, the art of weaving thread into captivating designs, offers a boundless platform for creative expression. But turning an initial spark of inspiration into a tangible masterpiece can seem daunting. Fear not, aspiring embroiderers! This guide will provide you with a roadmap to navigate the journey from idea to reality, empowering you to stitch your vision into existence.
1. Ignite Your Spark:
Start by fostering your creativity. Browse through embroidery blogs and galleries, explore online resources, and delve into historical needlework traditions. Immerse yourself in the world of stitches, colors, and textures to spark your own unique ideas.
2. Pen Your Vision:
Once an idea ignites your imagination, capture it on paper. Sketch preliminary designs, jot down color combinations, and experiment with different stitch techniques. Don't be afraid to brainstorm freely, explore variations, and allow your creative spirit to guide you.
3. Choose Your Canvas:
Fabric plays a crucial role in shaping your embroidery. Select a fabric that complements your design theme, considers the chosen stitch style, and offers suitable tension for optimal stitching. Explore different materials like cotton, linen, silk, or even felt to find the perfect canvas for your vision.
4. Transferring the Design:
With your fabric and design ready, it's time for the transfer. There are various methods, each with its own advantages:
Drawing directly: Use a fabric pen or embroidery transfer paper to meticulously sketch your design onto the fabric.
Lightbox tracing: Place your design on a lightbox, then trace it onto the fabric with a fabric pen or washable marker.
Iron-on transfer: Print your design onto special transfer paper and iron it onto the fabric, ensuring a precise and easily visible image.
5. The Magic of Stitches:
Now comes the most exciting part – stitching your design to life! Familiarize yourself with various embroidery stitches like the running stitch, back stitch, and satin stitch. Practice and experiment on scrap fabric to gain confidence and master your technique.
6. A Palette of Colors:
Threads are the lifeblood of your embroidery, adding depth and dimension to your design. Choose colors that complement each other and evoke the desired mood. Don't be afraid to experiment with different shades, textures, and even metallic threads to add a touch of sparkle or luxury.
7. Embellishments and Finishing Touches:
Once your embroidery is complete, consider adding embellishments to enhance its visual appeal. Beads, sequins, buttons, and ribbons can add a unique flair to your design. Finally, frame your masterpiece or sew it onto a garment or accessory to showcase your creativity and share your art with the world.
8. Embrace the Journey:
Embroidery is a journey of exploration and self-expression. Enjoy the process, celebrate your progress, and learn from any mistakes. Remember, every stitch is a step towards your creative destination.
From a glimmer of inspiration to a tangible masterpiece, the journey of embroidery is filled with joy, satisfaction, and the magic of transforming threads into art. By following these steps and embracing the creative process, you can turn your embroidery ideas into stunning realities that showcase your unique artistic vision.